No-Bake Raspberry Yogurt Mousse Cake
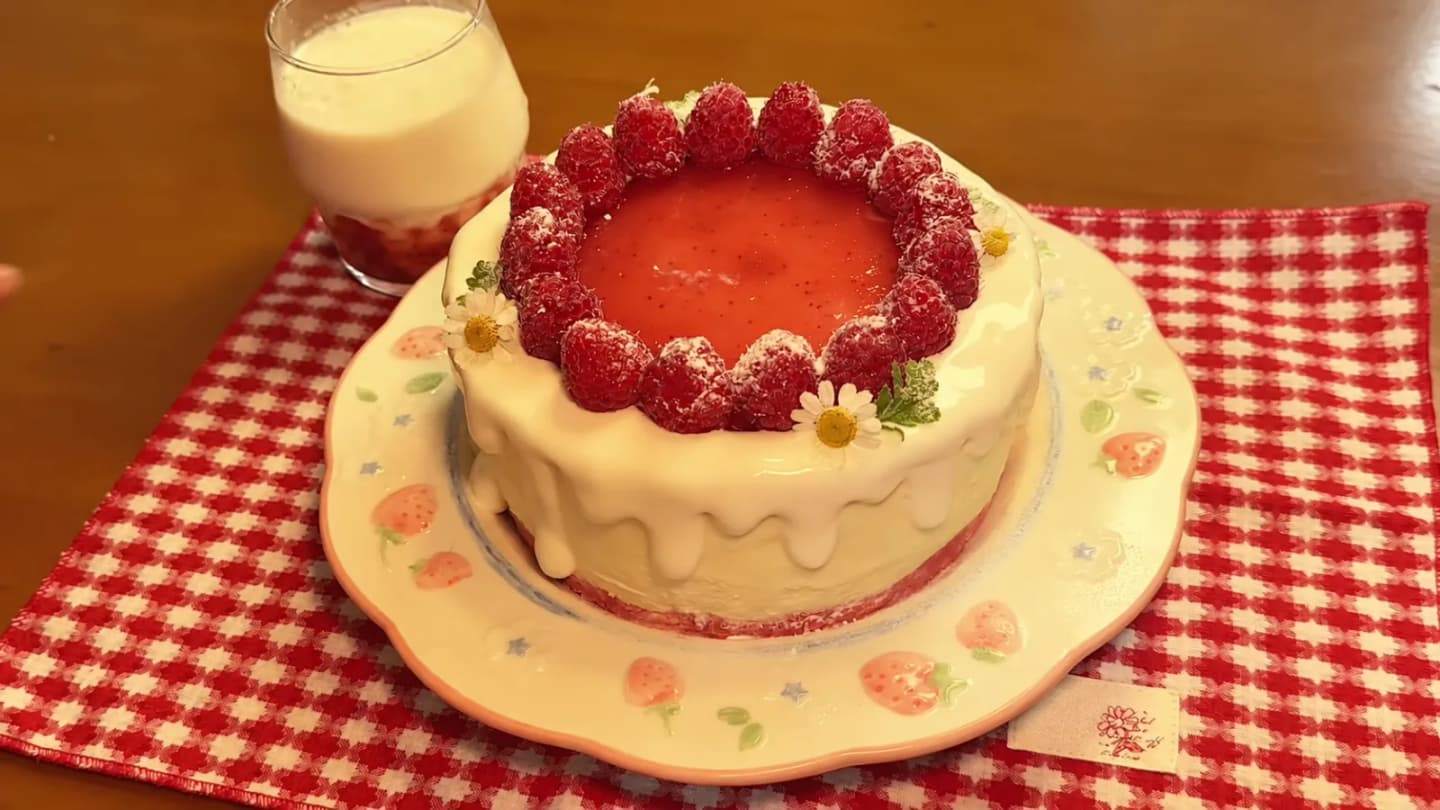
A raspberry yogurt mousse cake with a strawberry biscuit base, a pink mousse insert and a glossy raspberry topping. Creamy, tangy and made without an oven.
A note on this recipe
This chilled cake combines a strawberry biscuit base, a pink raspberry mousse insert and a creamy yogurt and cream cheese mousse. A glossy raspberry topping, cream cheese drips and fresh berries finish the cake. The tang of yogurt and raspberries balances the rich cream in a layered dessert made without an oven.
Why you should try it
- No oven is needed; the base is made with biscuits and butter.
- Yogurt and raspberries add a sweet-tart balance to the rich cream.
- A pink mousse insert and red topping create an attractive layered slice.
Before you start
A quick read of the key points before you cook.
Whip the cream until softly thickened, then gently fold in the slightly cooled mixture for a smooth mousse.
Level and firmly press the biscuit crumbs so the base holds together when sliced.
Wait for the insert and mousse layers to set before assembling or adding the next layer.
The cream cheese drizzle should be smooth and flowing; the video does not whip it to stiff peaks.
Instructions
Make the strawberry biscuit base
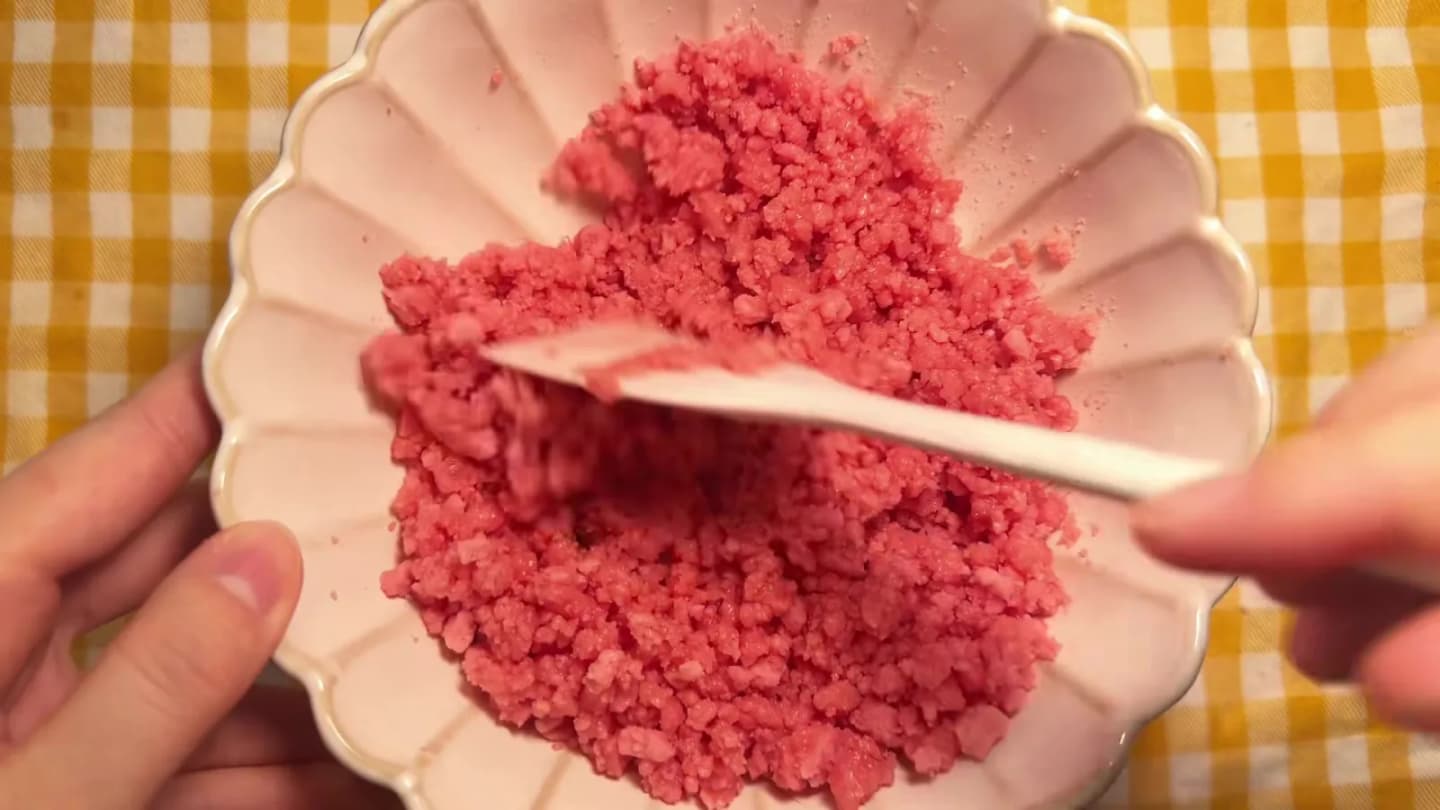
28 minCrush 80 g strawberry-flavored biscuits and mix with 30 g melted butter. Press firmly into an even layer in a 6-inch round mold. Freeze for 20 minutes as stated in the video.
Mix the raspberry mousse
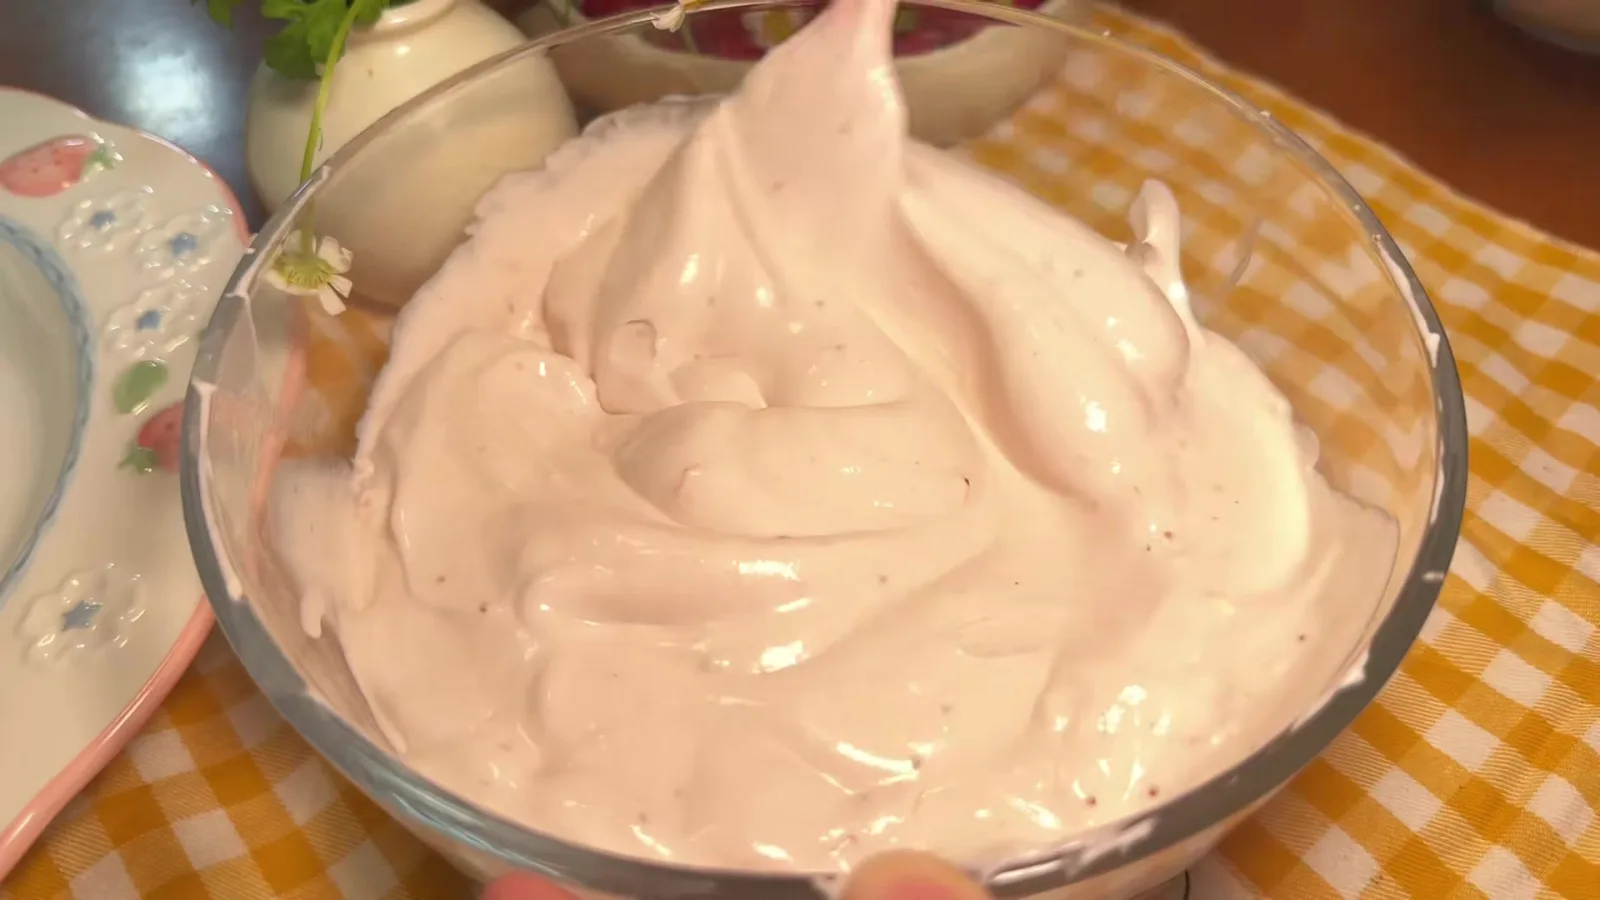
12 minSoak 10 g gelatin sheets until soft, drain the soaking water and dissolve them in 30 g milk warmed to about 50°C. Mix with 80 g raspberry jam, then stir in 80 g yogurt. Whip 160 g cream with 12 g sugar until thick but still soft. Once the raspberry mixture has cooled slightly, gently fold it into the cream until combined.
Freeze the mousse insert
2 hrPour the raspberry mousse into a suitably lined 5-inch round mold and level the surface. Freeze for 2 hours to set the insert.
Mix the yogurt mousse
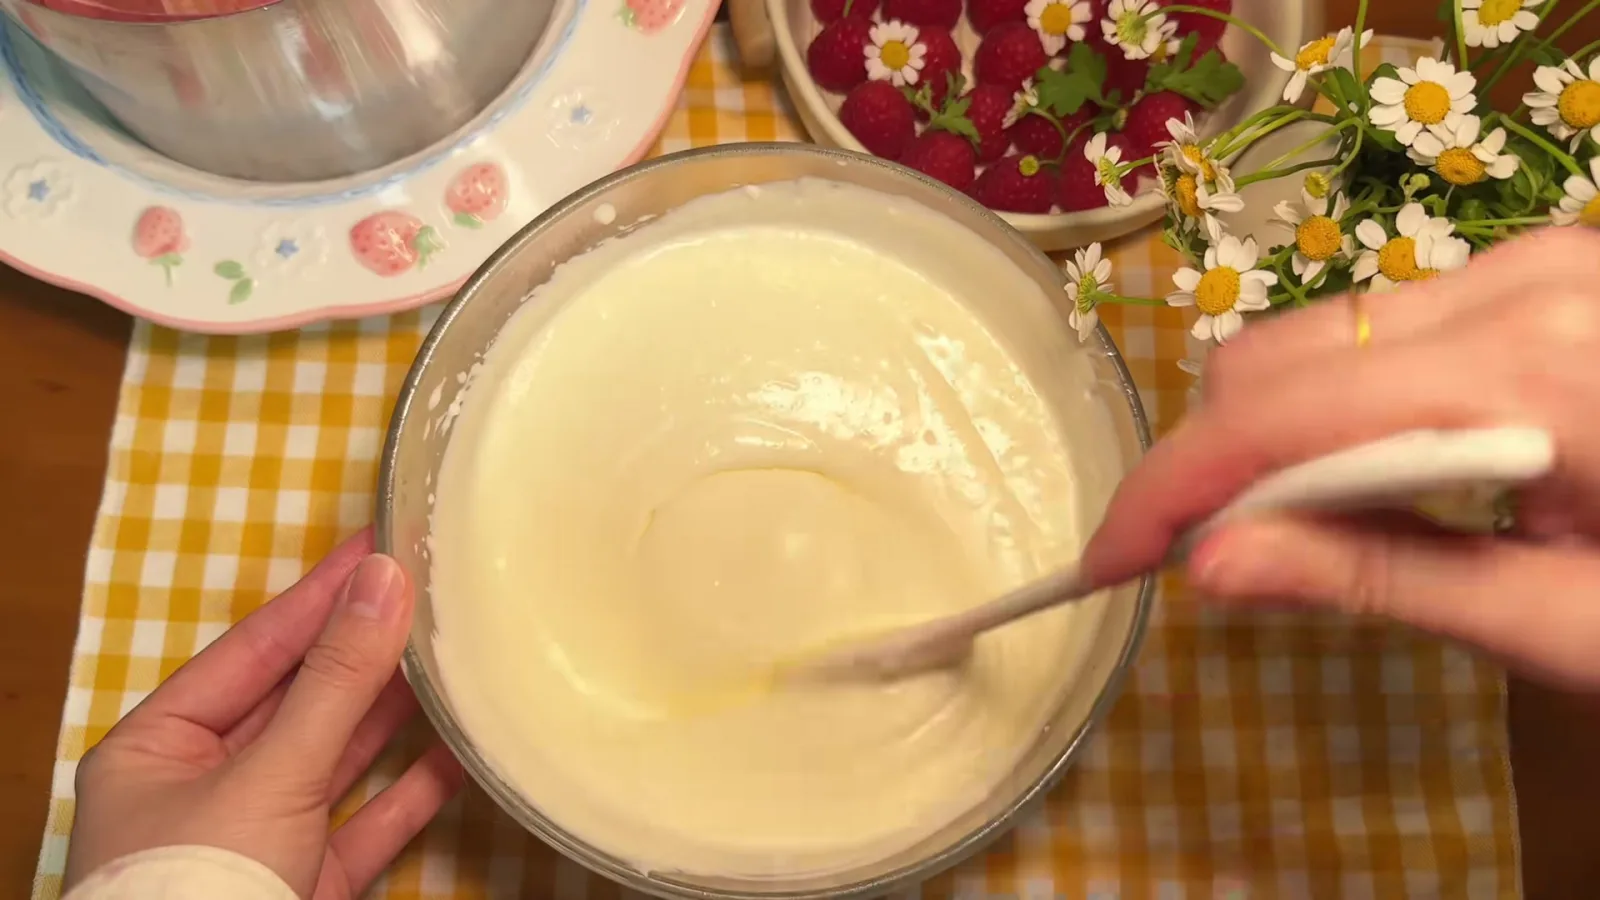
10 minWarm 100 g yogurt to about 50°C, add softened gelatin sheets and stir until dissolved. The video does not state the gelatin quantity for this layer; a verified amount must be added before using the recipe. Mix with 100 g softened cream cheese. Whip 200 g cream with 15 g sugar until softly thickened, then gently fold in the slightly cooled yogurt mixture.
Assemble the mousse layers
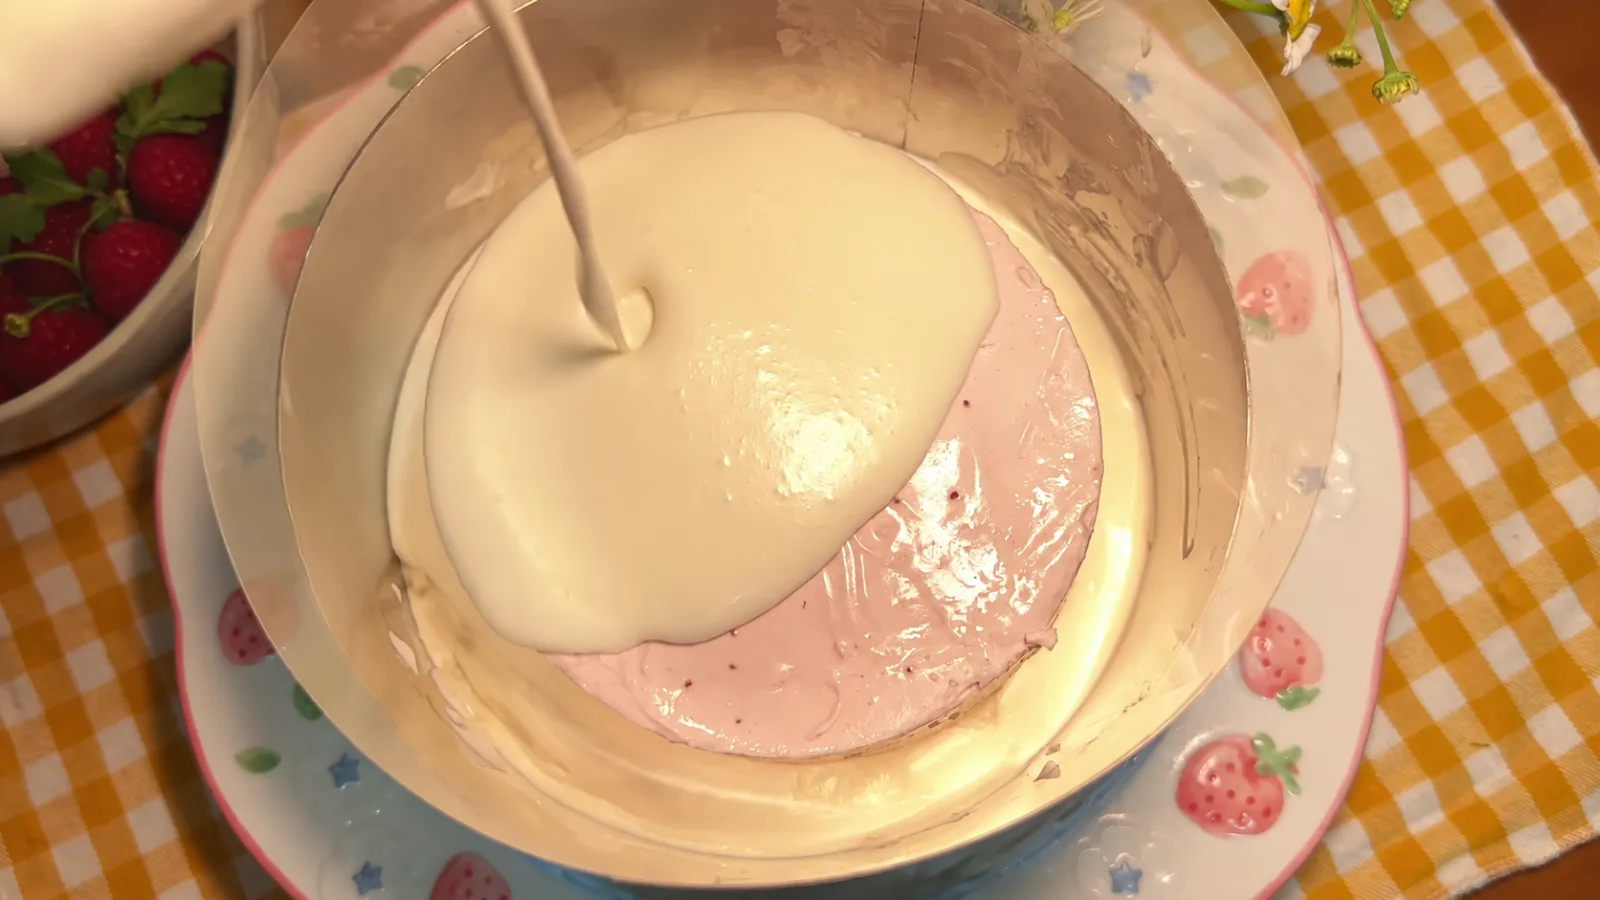
22 minPour a layer of yogurt mousse about 1 cm thick over the biscuit base in the 6-inch mold. Tap gently to release air bubbles and refrigerate for 15 minutes. Unmold the frozen 5-inch raspberry insert and place it in the center. Pour the remaining yogurt mousse around and over the insert, then level the surface.
Freeze the assembled cake
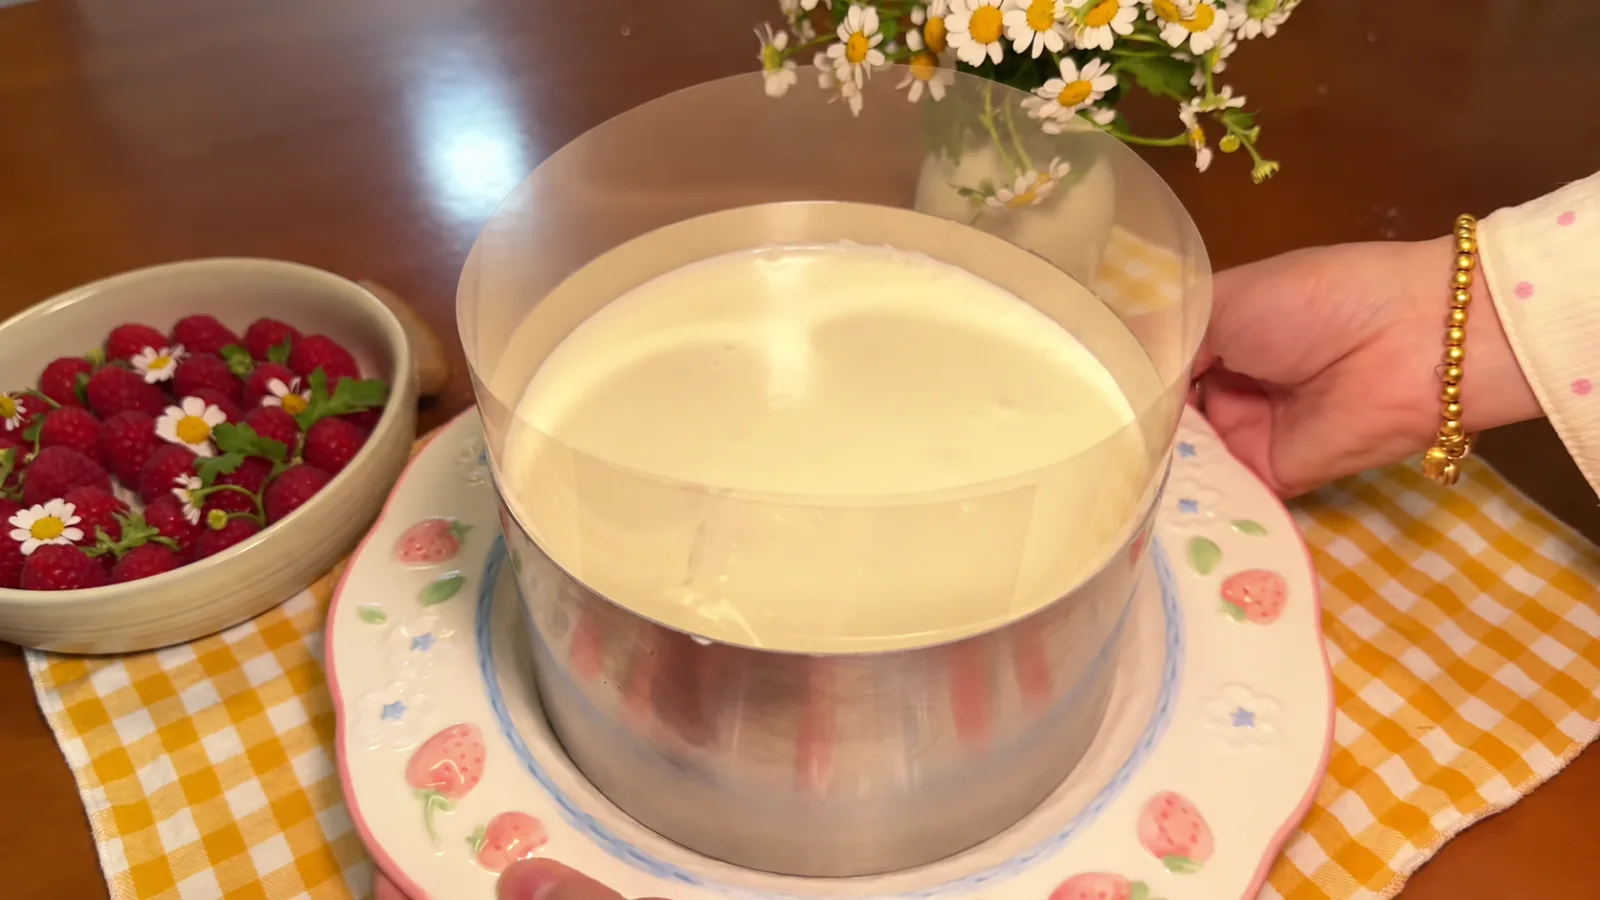
3 hrFreeze the assembled cake for 3 hours, as instructed in the video, so the mousse layers set before adding the topping.
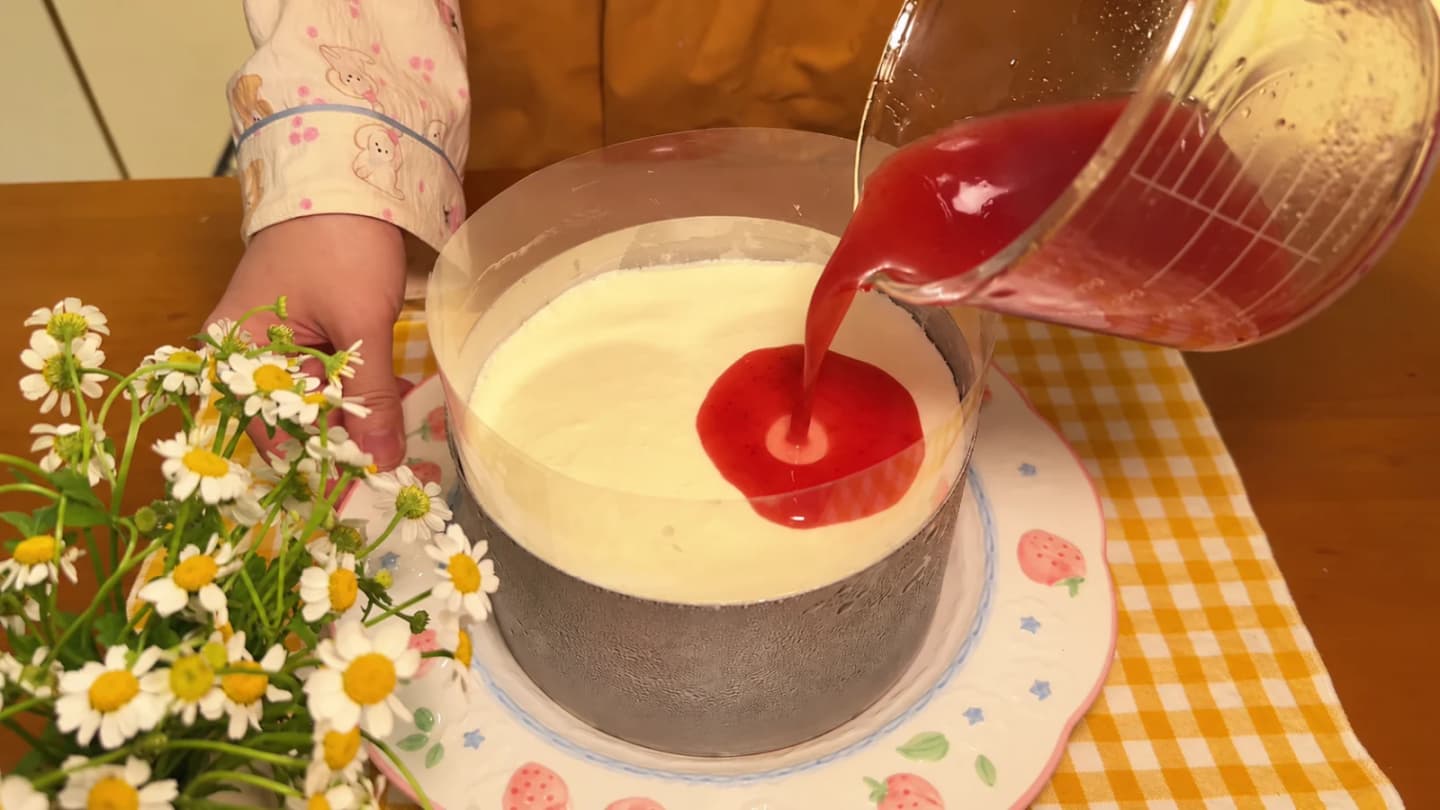
Add the raspberry topping
1 hr 4 minCombine 60 g raspberry jam or sauce with 2 g gelatin dissolved according to the instructions for your gelatin. Pour over the set cake and tilt gently to spread it evenly. Freeze for another 1 hour.
Unmold and decorate
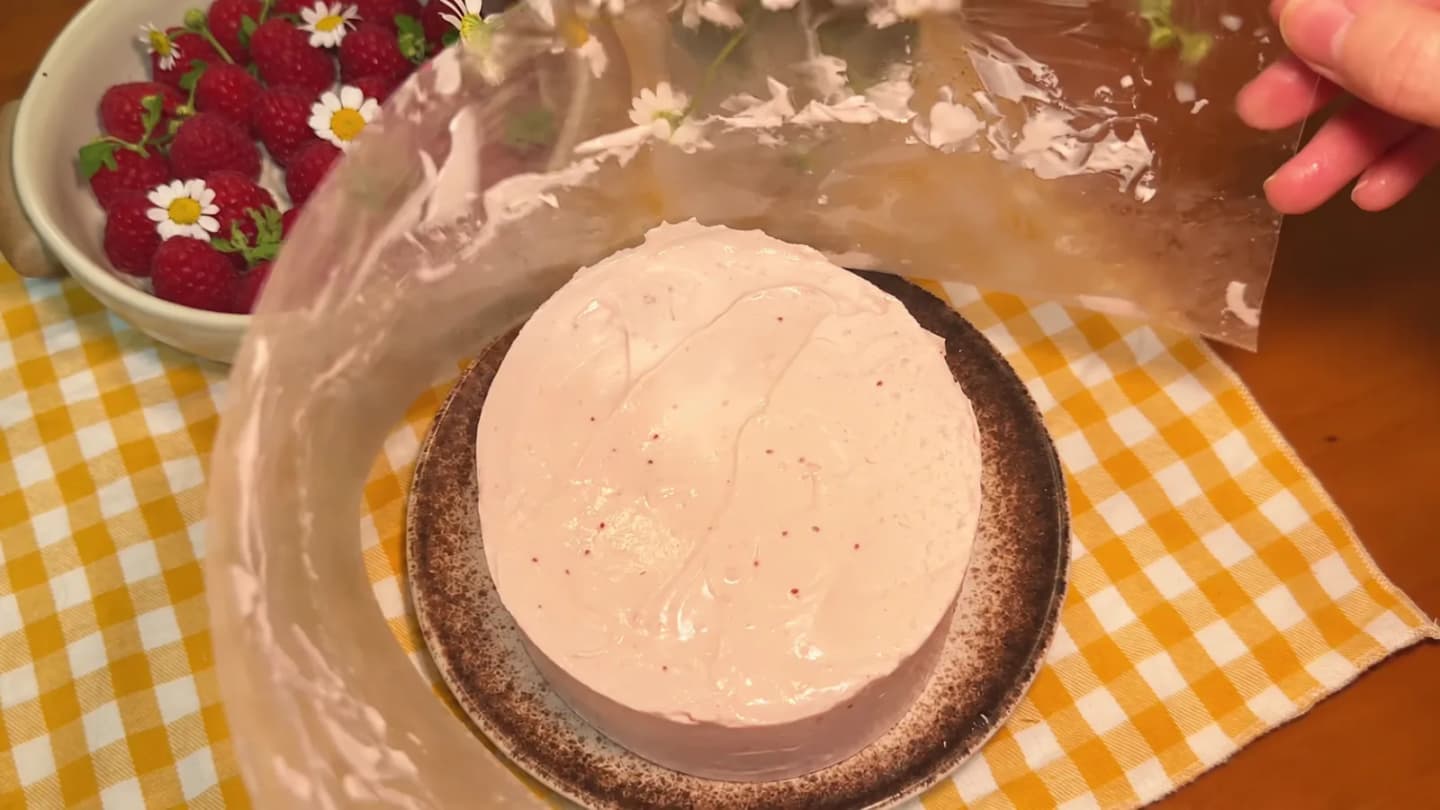
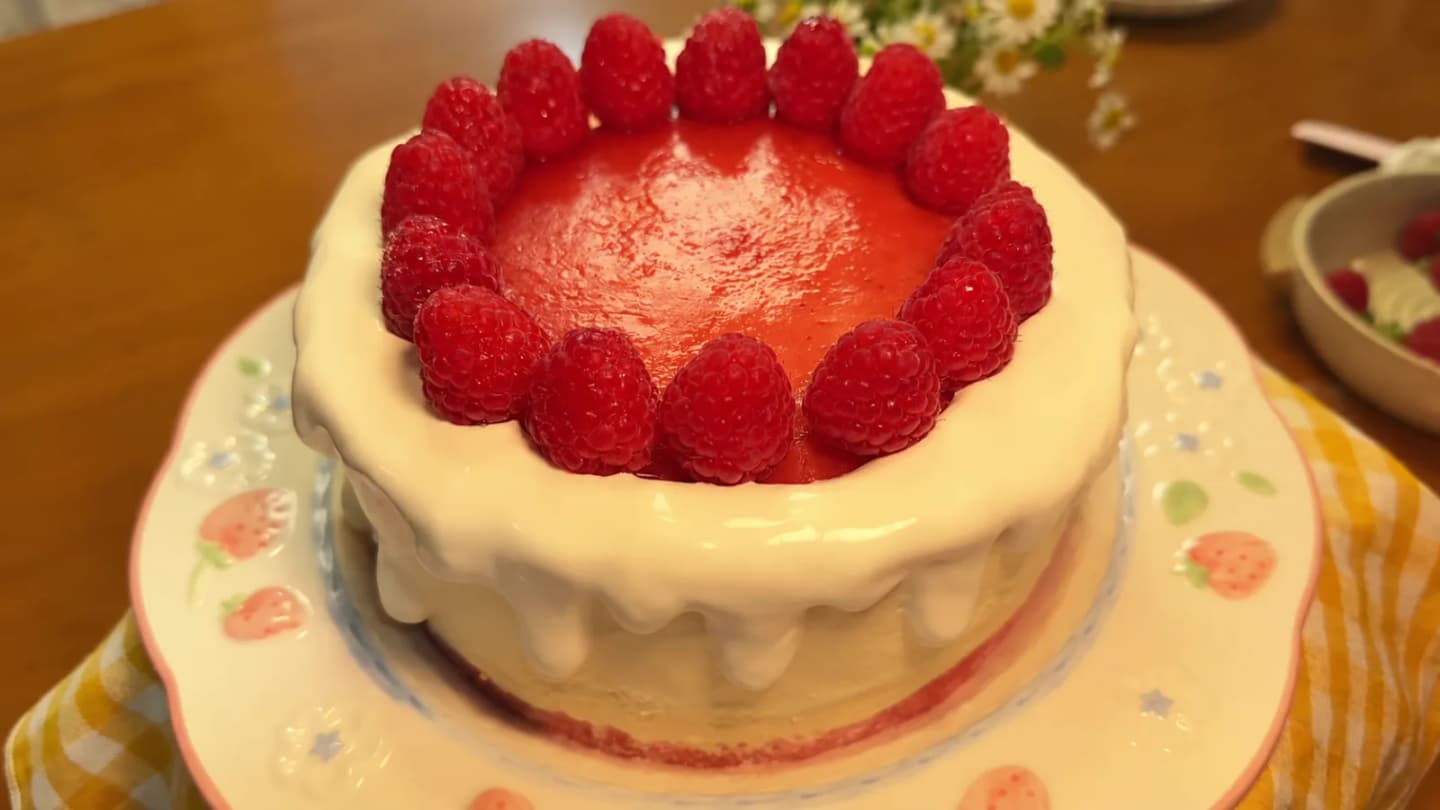
14 minUnmold the cake and remove any acetate lining. Beat 50 g cream cheese with 20 g cream and 5 g sugar until smooth and pourable. Spoon around the edge to create drips. Arrange fresh raspberries on top and dust lightly with powdered sugar. Before serving, keep the cake refrigerated until it is soft enough to slice and eat.
Storage
Best within Enjoy soon after decorating for the best berry freshness and biscuit texture.
Refrigerate Keep covered in the refrigerator and take out when ready to serve.
Ingredients
0/20Servings 6 servings
Strawberry biscuit base
Raspberry mousse insert — 5-inch mold
Outer yogurt mousse
Raspberry topping
Cream cheese drizzle and decoration
Share
Reviews & Comments
- 5 stars0
- 4 stars0
- 3 stars0
- 2 stars0
- 1 star0
No reviews yet. Be the first to share your thoughts!
Similar Dishes
Durian Mille-Crepe Cake with Coconut Milk Jelly
Blueberry Chocolate Layer Cake
Matcha, Green Apple, Grape and Dill Tart Cake